
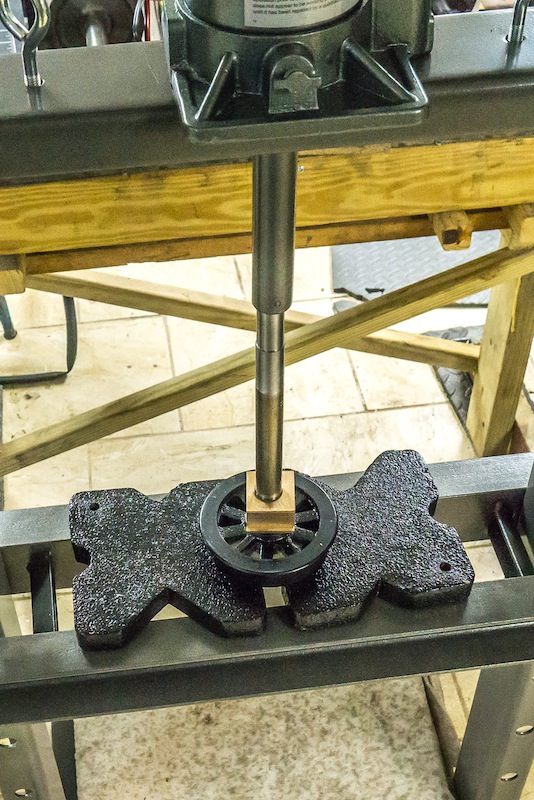
This photo shows the finished truck setup for 7-1/4″ gauge. Moving the brass bushings to the inside of the wheels on one side, makes the truck 7-1/2″ gauge. My plan is to make similar bushings for the drivers and crank pins. I don’t foresee changing gauge very often, but I want it to be possible without major surgery to the locomotive.
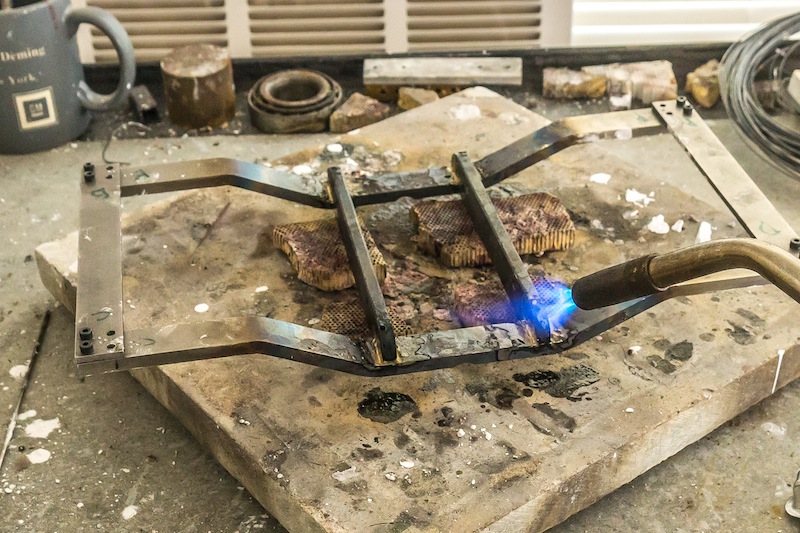
After bending up the frame it was necessary to braze the parts together.
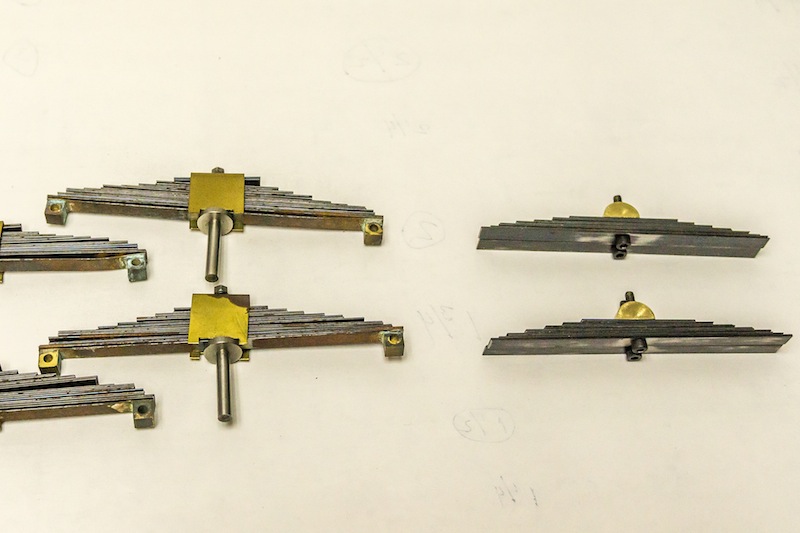
My parts engine had some leaf springs 1/4″ wide (left in photo). I made 1/2″ wide spring assemblies by using the narrow springs next to each other.
I pressed the axle onto the wheels on one side of the truck only. The wheels needed to be a keyed slip fit on the other side to accommodate changing gauge.
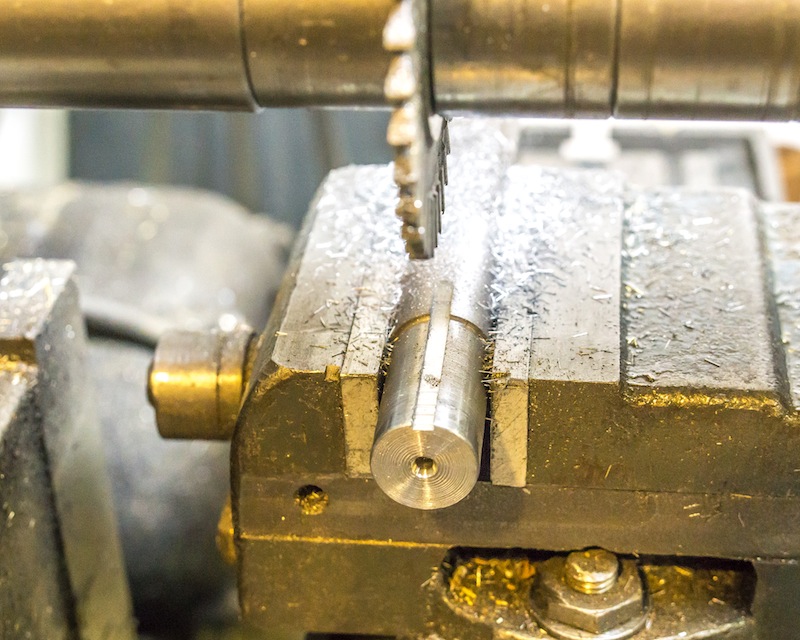
Milling the keyway on an axle.
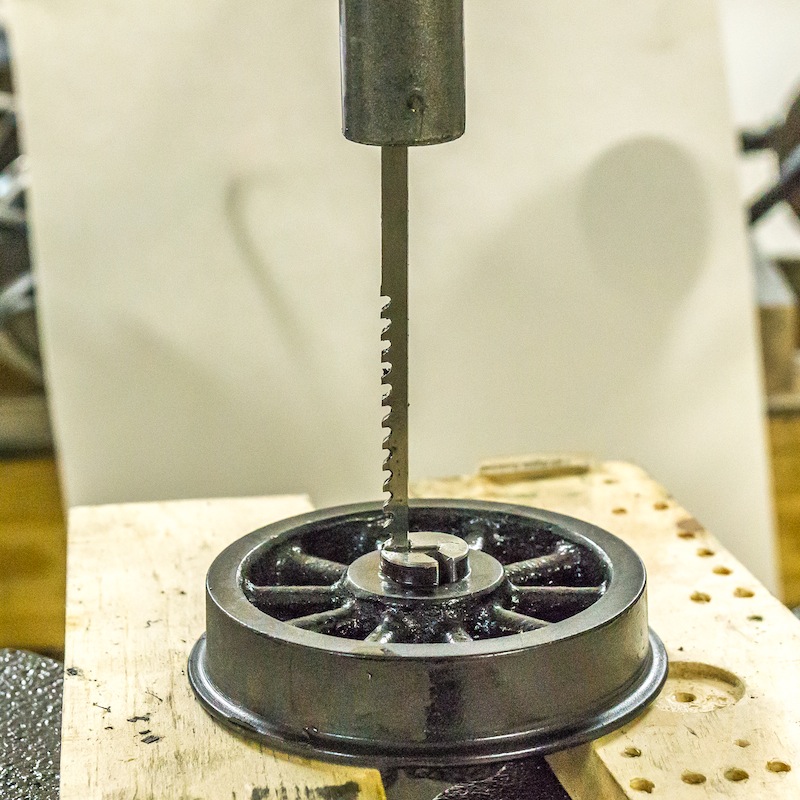
Broaching a keyway in a wheel.
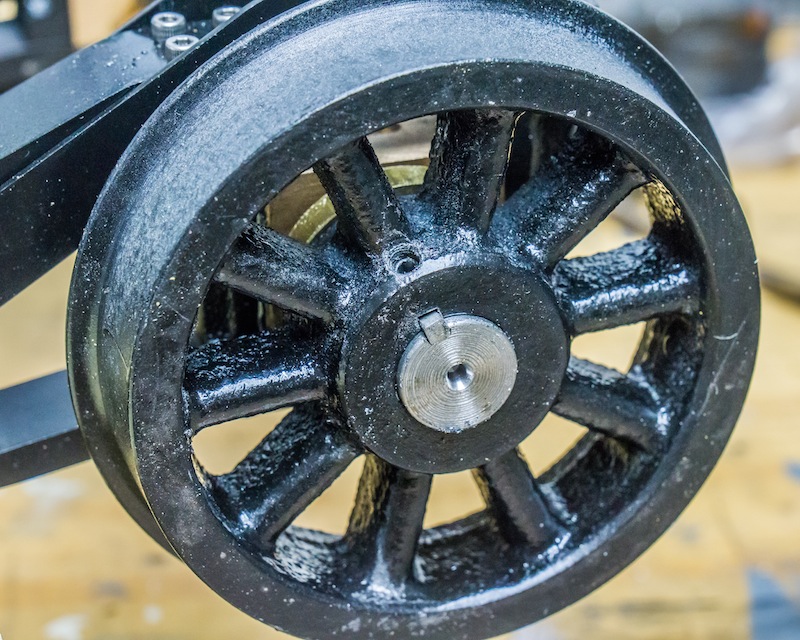
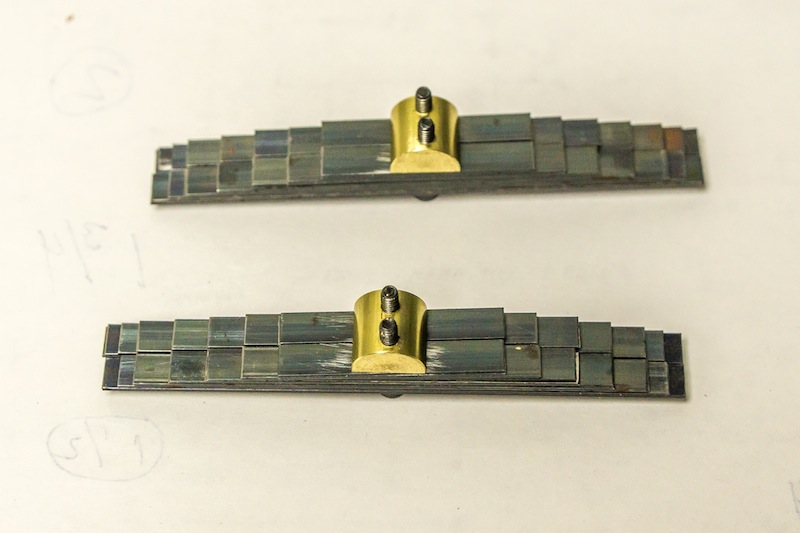
The photo above shows a #10-32 set screw on a wheel setup for 7-1/2″ gauge. I used two set screws, 90 degrees apart on both wheels.

Finished truck setup for 7-1/2″ gauge.

Beautiful work Tim! John
LikeLike